| Decision | Figure to work from | Planning use |
|---|---|---|
| Heat-treating flour in the oven | 350°F (177°C) for 5-8 minutes, until the flour reaches 160°F (71°C) | Suits a whole batch of flour treated at once. Judge doneness by the thermometer, not the timer. |
| Heat-treating flour in the microwave | 30-second bursts, stirring after each, repeated until 160°F | Suits cooks who want to check the temperature after every burst of heat. |
| Eggs | None in the dough | Removes the egg question instead of managing it. |
| Refrigerator | Up to 3 days in an airtight container in one recipe; about a week in another | Plan around the shorter window when serving other people. |
| Room temperature | Up to 2 days | Fine for a short serving window, not for leaving dough out all week. |
| Freezer | Up to 3 months in one recipe; 3-4 months in another | Use for any batch you will not finish within the fridge window. |
These figures come from recipes published by Live Well Bake Often and Cookie Dough and Oven Mitt, and each applies to the recipe it comes from rather than to every edible dough.
Edible cookie dough is unbaked dough made safe to eat by leaving out eggs and heat-treating the flour. Treat the flour to 160°F (71°C) or higher, keep the dough chilled, and eat it within the fridge window above.
This guide maps the whole subject so you can decide where to start. If you want a direct verdict, is edible cookie dough safe to eat answers it on its own page. The reasoning behind the warnings on ordinary dough sits in why can’t you eat raw cookie dough, and the sections below explain each step in the order you are likely to need it.
Choosing where to start
Your starting point depends on what you already have in the kitchen and what worries you most. Edible dough has only two safety levers, the flour and the eggs, and each lever has a simple fix. Most of the decisions below are about which fix suits you and how much effort you want to spend.
- You want to understand the risk first. Read the safety section below, then the longer explanation of raw flour and raw eggs. It shows why a recipe that only removes the eggs is still incomplete.
- You have regular flour and a thermometer. Go straight to the heat-treating section. Treating flour yourself costs a few minutes and works with any bag in the pantry.
- You want to skip eggs and move quickly. The eggless route is the shortest path to dough you can eat with a spoon. It is also the base for most variations.
- You are cooking around a dietary need. Gluten-free, dairy-free and vegan versions each change one ingredient group. The variations section points to a page for each.
- You would rather buy than make. The closing section links to a comparison of brands and to nutrition details.
The routes differ in how much control you keep. Making your own dough puts the flour temperature and the storage clock in your hands. Buying a finished product hands both to the maker, so the label and the maker’s process become the things to check before you commit.
Whichever route you choose, the same two conditions apply. One recipe puts the rule in a single sentence: edible cookie dough is safe to eat when it is made without eggs and with heat-treated flour. The sections that follow take those two conditions apart, starting with why each one exists.
What makes ordinary cookie dough unsafe to eat raw
Ordinary cookie dough is meant to be baked, and its raw ingredients can carry bacteria. A recipe from Zhang Catherine names the two culprits: raw eggs can carry Salmonella, and raw flour can carry bacteria such as E. coli. Both ingredients sit in most traditional cookie dough, which is why tasting dough from the mixing bowl is a gamble.
The two hazards come from different ingredients, so one fix does not cover both. Removing the eggs addresses the Salmonella question. It does nothing about the flour, which is why the flour needs its own step.
Raw flour
Raw flour is the ingredient most people forget. It feels like a pantry staple rather than a raw product, yet Live Well Bake Often states plainly that consuming raw flour is not recommended because it can contain bacteria. Flour goes into every cookie dough, so the flour question applies even to recipes with no eggs at all. An egg-free dough made with untreated flour has fixed only half the problem.
The practical consequence is that the heat-treating step is not optional polish. If you plan to eat dough unbaked, treat the flour before it meets the butter and sugar. The next section covers temperatures and methods, and the flour should be cool before you mix it into the dough.
Raw eggs and Salmonella
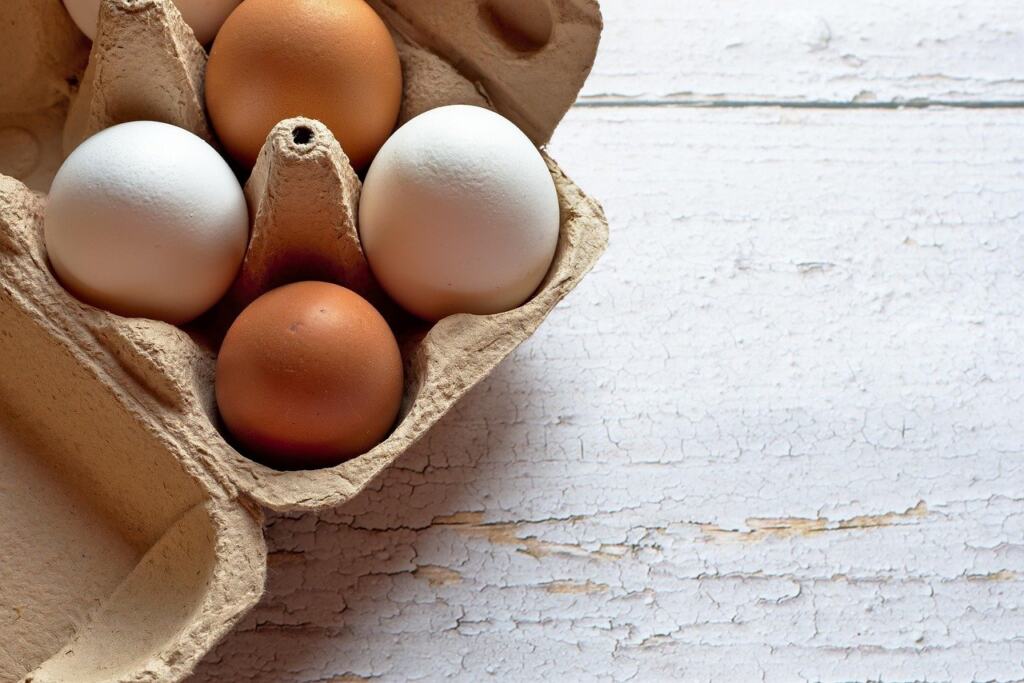
Salmonella is the bacterium attached to raw eggs. Ordinary cookie dough recipes call for eggs to bind the dough, so a bowl of unbaked dough from such a recipe contains them raw. Baking removes the concern, which is why the same dough is fine as a cookie and not as a snack.
The recipes cited here leave eggs out. Live Well Bake Often describes its dough as made with heat-treated flour and completely egg free, so it is safe to eat. That is the cleanest solution for most home cooks, because there is no egg to manage, label or substitute.
Where pasteurized eggs fit
Pasteurized eggs are the alternative some cooks consider when a recipe seems to need an egg. The safety rule in the recipes cited here is stated differently, though. Dough is safe when it is made without eggs and with heat-treated flour. A dough that keeps eggs in the ingredient list falls outside that stated condition, so an egg-free recipe is the sounder default.
Keep the decision simple. An egg-free recipe with heat-treated flour matches the stated condition. A recipe that keeps eggs does not, whatever egg product it uses. If you still want a dough with eggs in it, treat that as a separate project and check the egg product’s own labeling before you decide.
Heat-treating flour
Heat-treating flour means heating it to a target internal temperature before it goes into dough. The recipes cited here set that target between 160°F (71°C) and 165°F (74°C). Everything else, the oven or microwave and the minutes on the clock, is a way of reaching that number.
Oven method
The oven approach heats a batch of flour in one go. Live Well Bake Often instructs baking at 350°F (177°C) for 5-8 minutes or until the flour reaches 160°F (71°C). The range of minutes is a guide and the temperature is the finish line. A thermometer reading tells you the flour is ready, and the timer only tells you when to start checking.
This method suits you if you want to treat the flour for a whole batch at once and do not mind turning the oven on for a short job. It is also the easier choice when you are making several batches in one session, because the oven can handle the flour while you prepare the butter and sugar.
Microwave method
The microwave works in short bursts so the flour never sits unattended for long. Cookie Dough and Oven Mitt heats in 30-second increments, stirring after each, and repeats until the flour reaches 160 degrees F on an instant-read thermometer. A different recipe from Zhang Catherine microwaves for 60 seconds, stirring every 20 seconds, and aims for 165°F (74°C).
The microwave suits a smaller amount of flour or a cook who wants to watch each stage. Stirring appears in both versions, and that matters because the flour does not heat evenly on its own. Measure after stirring, not before, so the reading reflects the whole portion.
Checking the reading
Use an instant-read thermometer for the final check. Cookie Dough and Oven Mitt specifies one, and a quick probe into the stirred flour is what tells you the batch has reached the target. If the reading is below target, return the flour to the heat for another short burst or a few more minutes, then stir and measure again rather than assuming the flour is done.
Do not rely on the color or the clock. The timer in the oven recipe is a starting point, and the microwave recipe repeats its bursts until the reading is reached. Both sources treat the temperature as the signal that the job is finished.
Which temperature to aim for
| Recipe approach | Method | Target flour temperature | Planning use |
|---|---|---|---|
| First recipe | Oven at 350°F (177°C), 5-8 minutes | 160°F (71°C) | Use when treating all the flour in one tray. |
| Second recipe | Microwave for 60 seconds, stirring every 20 seconds | 165°F (74°C) | Use when you want short, supervised heating and a higher margin. |
The methods come from Live Well Bake Often and Zhang Catherine.
The two figures differ, and neither recipe treats the other as wrong. If you want a single number to adopt, the higher one leaves more room. Zhang Catherine also notes that heating to 165°F kills the bacteria without changing the flavor of the dough, so the extra margin does not cost you taste. Reaching the higher figure takes a little longer, which is a small price if you are serving guests.
The full walkthrough, with troubleshooting, lives in how to heat treat flour for edible cookie dough.
Making edible dough without eggs
Making edible cookie dough without eggs is simpler than most people expect, because the dough does not need to bind or rise. Zhang Catherine describes a version that comes together in about 15 minutes with five main ingredients. Allow extra time on top of that assembly time for the flour treatment, and let the flour cool before you mix it in.
What an egg-free dough is like
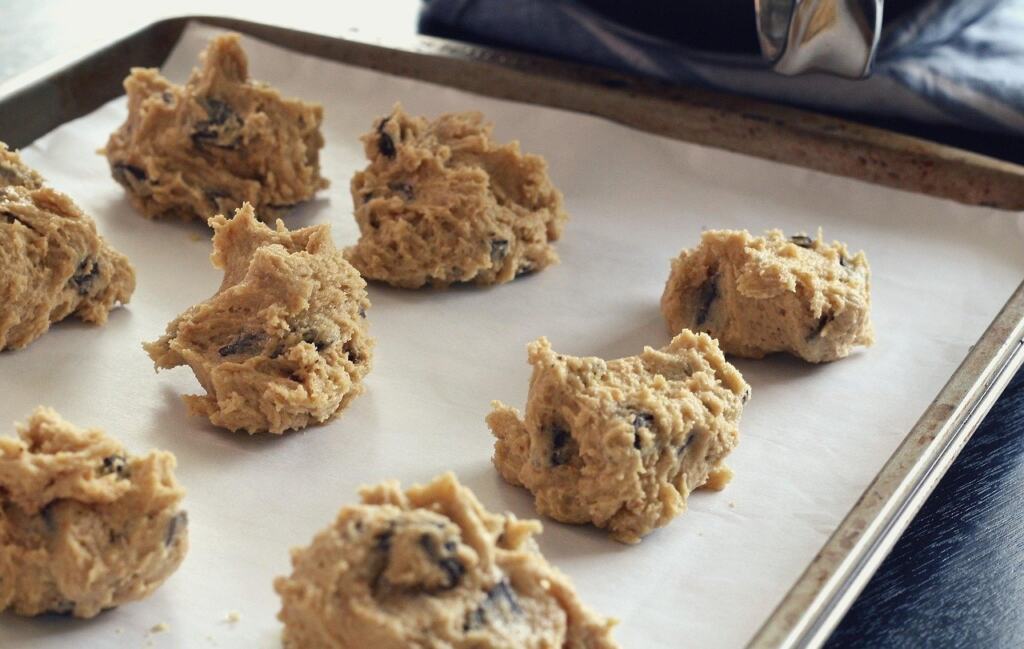
Egg-free dough is not a lesser version of the classic. Cookie Dough and Oven Mitt describes its dough as all the same flavors of a chocolate chip cookie dough, but without the egg. For anyone who loves the taste of dough straight from the bowl, that is the reassuring part: the flavor comes from the butter, sugar, vanilla and chocolate rather than from the egg.
If that is the dough you are after, the edible cookie dough recipe gives the full method. The eggless cookie dough recipe goes step by step for cooks who want the egg-free logic spelled out. Chocolate chip is the classic route, covered in the edible chocolate chip cookie dough recipe.
A sensible order of work
- Heat-treat the flour first and let it cool in its bowl before mixing.
- Cream the butter and sugars once the flour is ready.
- Fold in the flour and any add-ins last, and taste only once everything is combined.
- Chill the dough in an airtight container so it is ready for the storage window.
The sequence keeps the only genuinely time-sensitive step, the temperature check, at the front where you can concentrate on it. Portioning comes last, once the dough is combined and cold enough to hold its shape.
Variations for dietary needs
Variations change one ingredient group and leave the safety logic alone. The flour is still heat-treated and the dough is still egg-free, whatever else you swap. When you read a recipe for a different diet, check those two points first.
Gluten-free and flourless
If gluten is the constraint, start with gluten free edible cookie dough. The Zhang Catherine recipe lists oat or gluten-free flour as an option, and it is listed as heat treated, so the heat-treating step still applies. If you would rather avoid flour altogether, edible cookie dough without flour takes a different base and removes the heat-treating step from the job.
Dairy-free, butter-free and vegan
Dairy-free cooks can follow the vegan cookie dough recipe. Cooks who simply want a different fat can read edible cookie dough without butter. The fat swap is the only change those pages make to the core method, so the same flour and egg conditions still govern the result.
Flavors and add-ins
Once the base is dependable, the flavor is where you can improve it. Edible cookie dough flavors collects ideas for mix-ins and variations. Treat any new add-in as an addition to a safe base, not a reason to relax the flour or egg rules.
Serving is part of the appeal. A portion in a cup with a spoon is a simple way to present the dough, and it keeps the dough in one place rather than in a bowl that gets handled repeatedly.
Edible dough versus baking dough
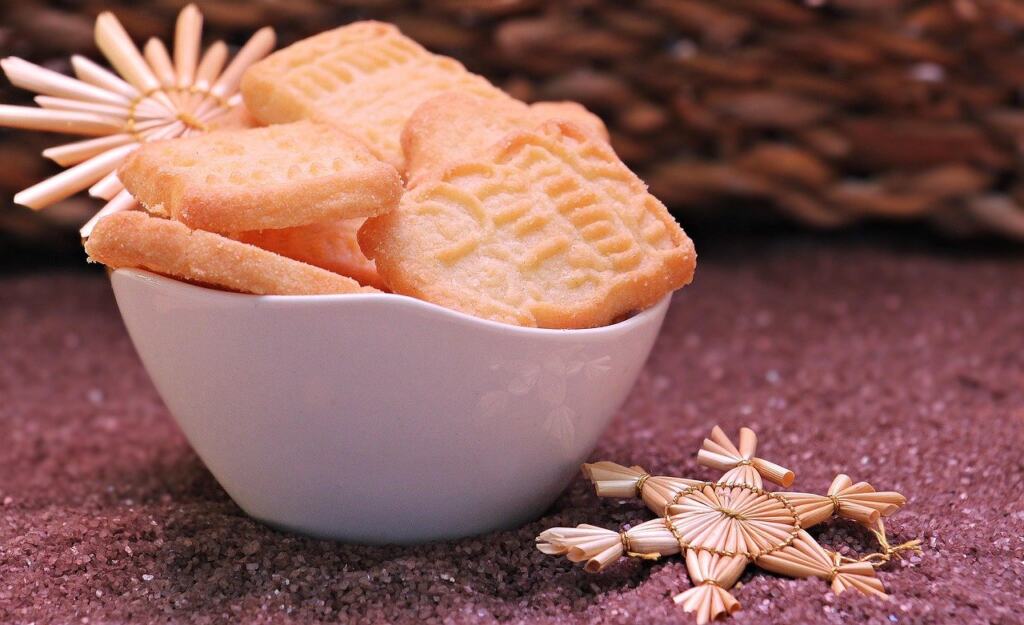
Edible cookie dough and baking cookie dough are built for different jobs, so they are not interchangeable. The clearest difference is leavening. Zhang Catherine points out that edible dough lacks the leavening agents like baking soda or baking powder, so baking it would just result in a flat mess.
Cookie Dough and Oven Mitt reaches the same verdict from the egg side. Its dough has no eggs or leavening, and baking this edible cookie dough is not recommended. The two sources agree on the result even though each one starts from a different ingredient.
How to decide which dough to make
- You want cookies. Use a baking dough, with its eggs and leavening, and bake it. Do not eat the raw bowl scrapings.
- You want dough to eat. Use an edible recipe and keep it unbaked.
- You want both from one batch. Make two separate doughs. One batch cannot do both jobs well.
Storing edible cookie dough
Homemade edible dough keeps for days in the fridge, and the right window depends on which recipe you follow. Live Well Bake Often says to store leftover dough in an airtight container in the refrigerator for up to 3 days. Zhang Catherine calls the dough best within 5 days, keeping for up to 1 week. Cookie Dough and Oven Mitt says it lasts around a week and allows up to 2 days at room temperature.
Reading the differences
The windows differ because the recipes differ, and a longer figure is a ceiling, not a target. If you are serving other people or are unsure how a batch was handled, plan around the shortest figure above. Reserve the longer windows for batches you have kept cold throughout.
Room temperature is the tightest constraint. Treat the 2-day figure as the most you would allow for a serving window, and return the dough to the fridge after eating.
Planning a serving window
Work backward from the day you plan to serve. Count the fridge days first, then check that the dough will not need to sit out for longer than the room-temperature allowance. A batch made on a Friday for a Sunday gathering fits the shorter fridge figures, while a batch made weeks ahead belongs in the freezer, where the 3-month and 3-4 month figures apply.
The longer-term options are covered in how to store edible cookie dough. Questions about date labels and how long edible dough lasts are covered in how long does edible cookie dough last.

Buying instead of making
Buying edible dough saves the flour step, and it is a reasonable choice if you rarely make dough. The trade-off is that you are relying on the maker’s process rather than your own thermometer. Read the label and check whether the maker states how the flour was treated and what the storage window is before you commit.
A page comparing the best edible cookie dough brands lays out the differences between products. If portions matter, edible cookie dough calories covers the nutrition side so you can compare servings across options.
Frequently asked questions
Can you freeze edible cookie dough?
Yes. One recipe says the dough freezes well for up to 3 months in a freezer bag or container, and another gives 3-4 months in a proper freezer container.
What does a basic batch contain, and how much does it make?
One recipe from Live Well Bake Often uses 125 g of flour, 115 g of butter, 100 g of brown sugar and 40 g of granulated sugar. That batch makes close to 2 cups of dough.
Can edible cookie dough be dairy-free?
Yes. Zhang Catherine lists coconut oil or vegan butter as the replacement for butter, and the flour and egg conditions stay the same.
Does gluten-free flour still need heat-treating?
In the same recipe, the oat or gluten-free flour option is also listed as heat treated. Swapping the flour does not remove the heat-treating step.